How to Build a Desktop PC: Step-by-Step Beginner Guide
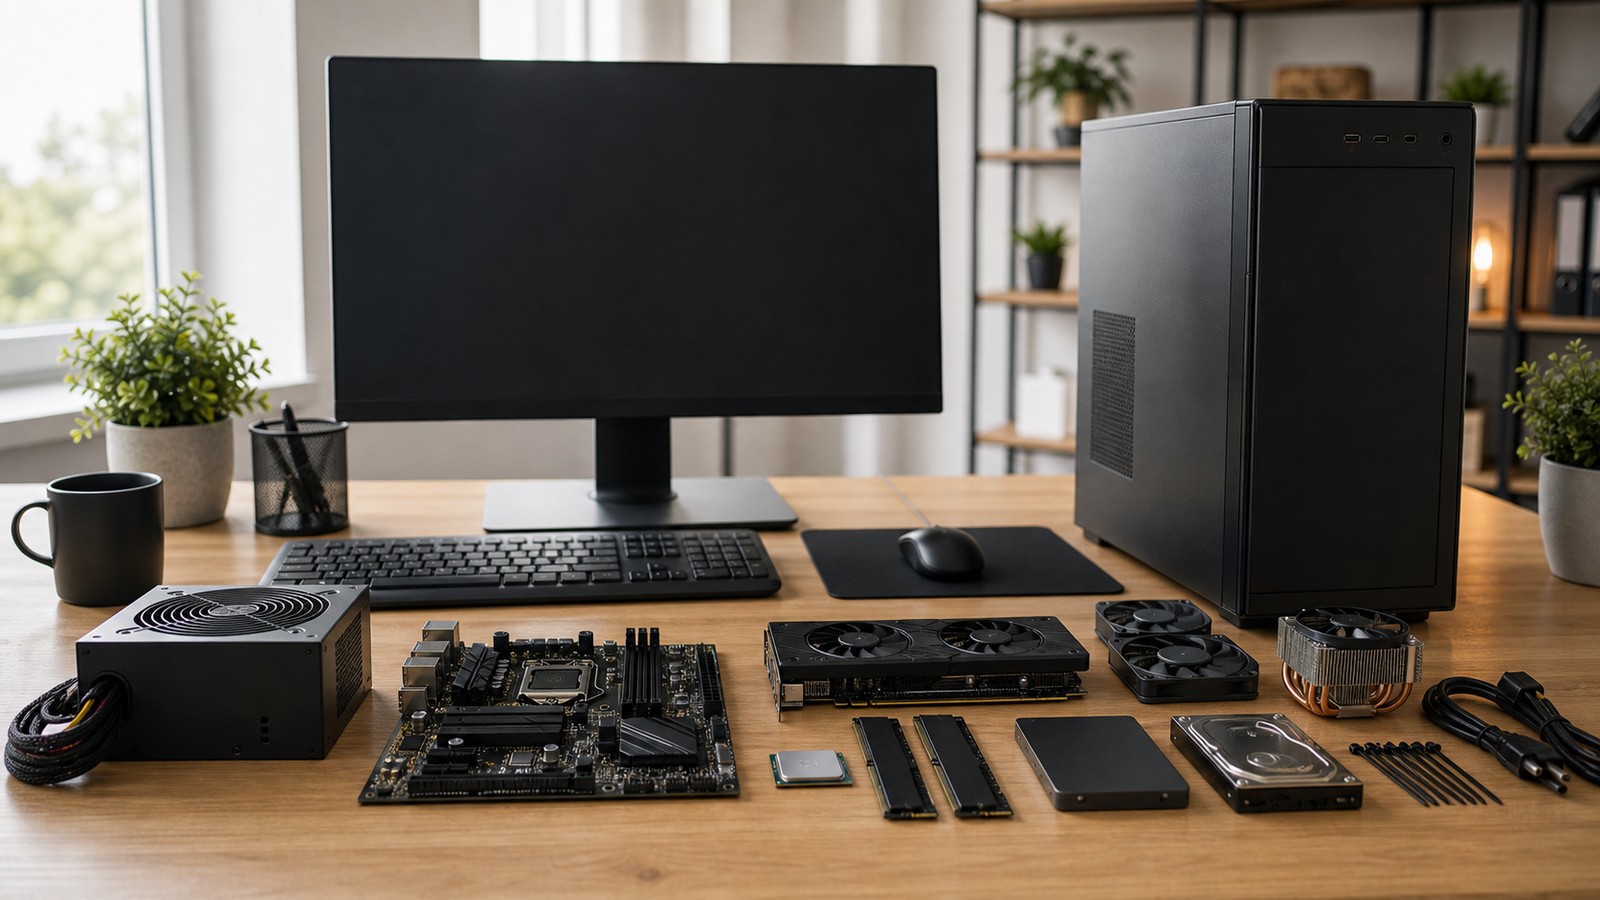
Building a desktop PC may look intimidating at first, but it is one of the most rewarding technology projects a beginner can take on. Instead of buying a prebuilt machine and hoping it fits your needs, building your own computer gives you control over performance, design, upgrade potential, cooling, storage, and budget. You choose every major part, understand how the system works, and gain the confidence to troubleshoot, maintain, and improve it over time. A custom desktop PC can be built for gaming, school, business, streaming, video editing, 3D work, programming, or everyday home use. The basic process is the same: select compatible components, prepare a clean workspace, install the parts carefully, connect power and data cables, boot the system, install the operating system, and confirm everything is running properly. This beginner-friendly guide walks through the full PC building process in a clear, step-by-step way. You do not need to be an engineer. You do not need years of experience. You only need patience, organization, and a willingness to follow instructions carefully.
A: No. It requires patience, compatible parts, and careful instruction-following.
A: A Phillips screwdriver is usually the main tool required.
A: Yes, if your CPU includes integrated graphics.
A: 16GB is a solid start, while 32GB is better for gaming and creation.
A: Not always. Many beginner builds run perfectly with air cooling.
A: Recheck the power switch, PSU cables, RAM seating, and front-panel connectors.
A: Only when needed for compatibility, stability, or important fixes.
A: Into the graphics card if your PC has a dedicated GPU.
A: Many beginners finish in a few hours, depending on complexity.
A: Yes. Upgradeability is one of the biggest benefits of a desktop PC.
Why Build a Desktop PC?
Building a desktop PC gives you freedom. Prebuilt computers can be convenient, but they often include compromises in cooling, power supplies, motherboards, memory speed, storage capacity, or upgrade flexibility. When you build your own system, you can spend more money on the parts that matter most and avoid paying for features you do not need.
For gamers, that might mean prioritizing the graphics card and high-speed storage. For creators, it may mean choosing a stronger processor, more memory, and a larger SSD. For office or home users, it could mean building a quiet, efficient desktop that lasts for years.
Another major benefit is knowledge. Once you build a PC, the machine is no longer a mystery box. You know where the memory sits, how the storage connects, what the power supply does, and how air moves through the case. That knowledge makes upgrades and repairs much easier later.
Step 1: Choose Your Main Components
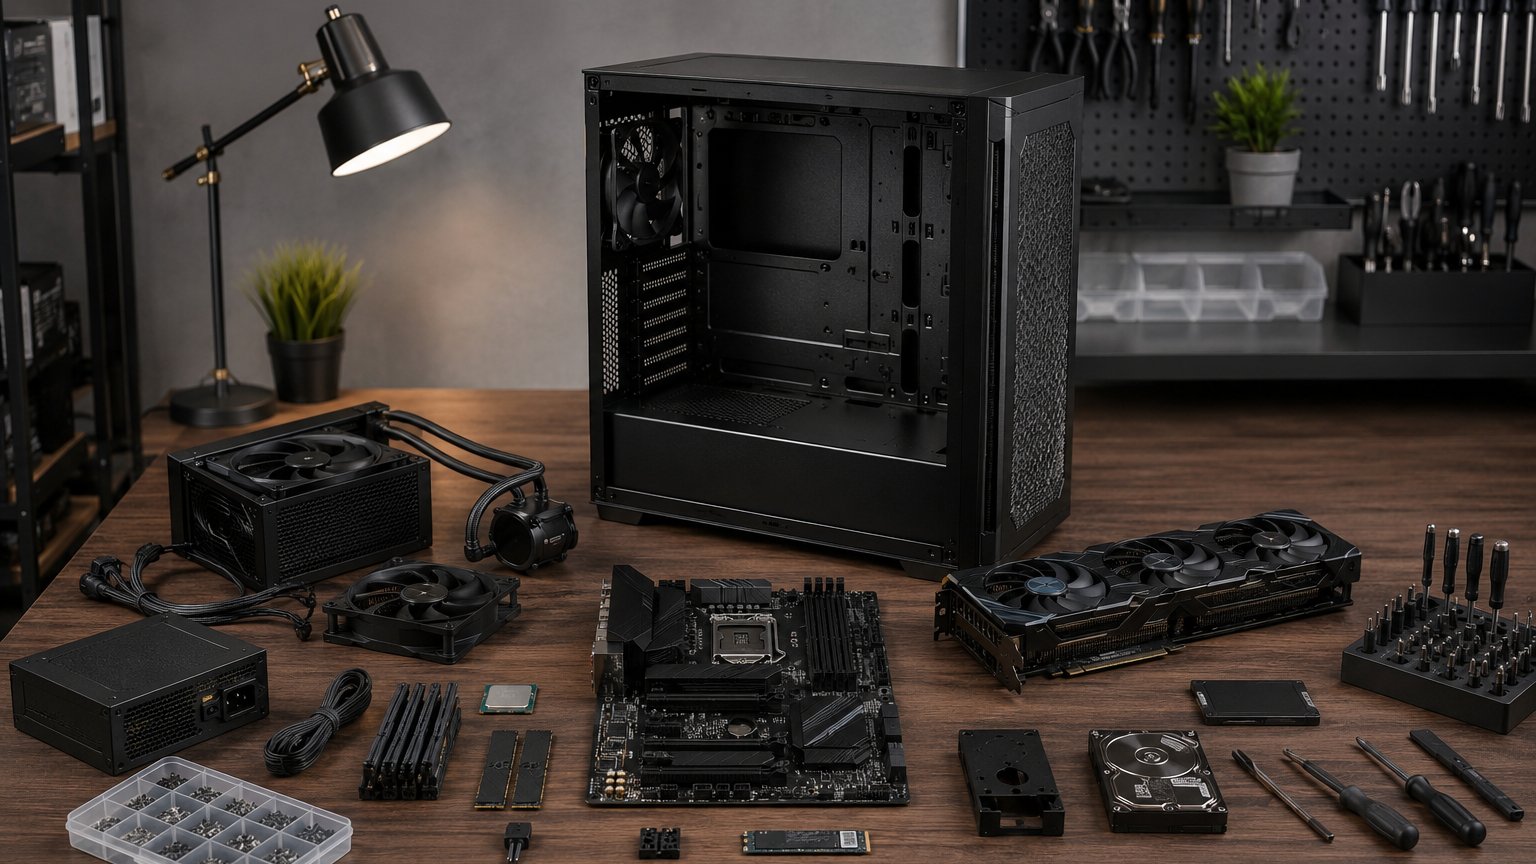
Every desktop PC is built around a few essential parts: the processor, motherboard, memory, storage, power supply, case, cooling system, and graphics card if your build requires one.
The processor, also called the CPU, acts as the brain of the computer. It handles instructions, calculations, multitasking, and overall system responsiveness. The motherboard is the main circuit board that connects everything together. Your CPU and motherboard must be compatible, so always check the socket type and chipset before buying.
Memory, or RAM, helps your computer run programs smoothly. For most modern builds, 16GB is a practical starting point, while 32GB is ideal for gaming, creative work, and heavy multitasking. Storage determines how much space you have for your operating system, applications, games, photos, and files. A fast NVMe SSD is strongly recommended because it makes the entire computer feel quicker.
The power supply, or PSU, converts wall power into usable power for your components. Choose a quality unit with enough wattage for your build. The case holds everything together, affects airflow, and determines the size of components you can install. The cooling system keeps your CPU and case temperatures under control.
A dedicated graphics card, or GPU, is essential for serious gaming, 3D rendering, GPU-accelerated creative work, and high-performance visual tasks. Some CPUs include integrated graphics, which may be enough for basic office work and everyday use.
Step 2: Check Compatibility Before You Buy
Compatibility is the most important part of planning a PC build. A powerful part is useless if it does not fit or connect properly.
Make sure the CPU matches the motherboard socket. Confirm the motherboard supports your chosen RAM type, such as DDR4 or DDR5. Check that the case supports the motherboard size, such as ATX, microATX, or Mini-ITX. Verify that your graphics card fits inside the case and that your power supply has the right connectors.
You should also check CPU cooler clearance, radiator mounting options, storage slots, front-panel ports, and airflow design. Many beginner mistakes happen before the build begins, usually because parts were purchased without checking fit and support.
Taking a little extra time during the planning stage can prevent frustration later. A well-matched parts list makes the actual building process much smoother.
Step 3: Prepare Your Workspace
Before opening boxes and handling components, prepare a clean, flat, well-lit workspace. A large desk or table is ideal. Avoid building on carpet if possible, because carpet can increase static electricity and make it easier to lose screws.
Keep your manuals nearby, especially the motherboard manual. It contains important diagrams for memory slots, front-panel connectors, fan headers, storage ports, and power connections. Many builders ignore the manual, but beginners should treat it as the map for the entire project.
You will usually need a Phillips screwdriver, small containers for screws, zip ties or cable straps, and possibly thermal paste if your cooler does not already include it. Touch a metal part of the case before handling components to reduce static buildup. Handle parts by the edges and avoid touching gold contacts, pins, or exposed circuitry.
Step 4: Install the CPU
The CPU installation is one of the most delicate steps, but it is simple if you move slowly. Place the motherboard on its box or on an anti-static surface. Open the CPU socket mechanism according to the motherboard instructions.
Line up the small triangle marker on the CPU with the triangle marker on the socket. Gently place the CPU into position. Do not force it. A properly aligned CPU should sit naturally in the socket. Once seated, close the retention arm or bracket.
This step requires care because CPU pins or motherboard socket contacts can be fragile. If something does not look right, stop and recheck alignment before applying pressure.
Step 5: Install the Memory
RAM installation is usually straightforward. Open the memory slot clips on the motherboard. If you are installing two sticks, use the recommended slots shown in the motherboard manual, often the second and fourth slots from the CPU.
Line up the notch on the RAM stick with the notch in the slot. Press down firmly and evenly until the clips snap into place. It may take more pressure than expected, but the stick should go in straight.
Proper memory placement matters because using the correct slots enables dual-channel performance, which can improve speed and responsiveness.
Step 6: Install the SSD
Most modern builds use an M.2 NVMe SSD. This small storage drive installs directly onto the motherboard. Find the M.2 slot, remove the tiny mounting screw or latch, insert the SSD at a slight angle, then press it down and secure it.
Some motherboards include heatsinks over the M.2 slots. If yours does, remove the heatsink first, install the drive, peel any protective film from the thermal pad, and reinstall the heatsink.
This is one of the easiest upgrades to overlook, but it has a major impact. A fast SSD helps your PC boot quickly, load applications faster, and reduce waiting time in games and creative programs.
Step 7: Install the CPU Cooler
The CPU cooler keeps your processor at safe operating temperatures. Some coolers use air towers with fans, while others use liquid cooling radiators. Follow the cooler instructions closely because mounting hardware varies.
If thermal paste is not pre-applied, place a small pea-sized amount in the center of the CPU. When the cooler is mounted, pressure spreads the paste across the processor surface. Too much paste can make a mess, and too little can reduce heat transfer.
Secure the cooler evenly, connect its fan or pump cable to the correct motherboard header, and make sure it does not block the memory slots or interfere with the case.
Step 8: Prepare the Case
Remove both side panels from the case and set them aside safely. Check that the motherboard standoffs are installed in the correct positions for your motherboard size. Standoffs keep the motherboard raised above the metal tray and prevent electrical shorts.
If your motherboard has a separate rear I/O shield, install it into the back of the case before placing the motherboard inside. Many newer motherboards have the I/O shield already attached, which makes this step easier.
Take a moment to study the case layout. Identify where cables route, where fans are installed, where the power supply mounts, and where storage drives can be placed.
Step 9: Install the Motherboard
Carefully lower the motherboard into the case, aligning the rear ports with the I/O opening and the screw holes with the standoffs. Once aligned, secure the motherboard with the included screws. Do not overtighten the screws. They should be snug, not forced. The motherboard should sit flat and stable. This step transforms your build from a collection of parts into the foundation of a real computer. From here, you will start connecting everything together.
Step 10: Install the Power Supply
The power supply usually mounts at the bottom or top rear of the case. In most modern cases, it sits at the bottom with its fan facing a ventilated intake area.
Slide the PSU into place and secure it with screws from the back of the case. If you are using a modular power supply, connect only the cables you need. Common cables include the 24-pin motherboard cable, CPU power cable, PCIe graphics card cables, and SATA power cables for certain drives or accessories.
Good cable planning at this stage makes the final build cleaner and improves airflow.
Step 11: Connect Power and Case Cables
Now connect the main power cables. The large 24-pin cable plugs into the motherboard. The CPU power cable connects near the top of the motherboard. These connectors usually click into place when fully seated. Next, connect the case cables. These may include the power button, reset button, power LED, front USB ports, audio port, and case fans. The front-panel connectors are small and can be confusing, so use the motherboard manual carefully. This step often takes beginners the longest. That is normal. Work slowly and check each connection.
Step 12: Install the Graphics Card
If your build includes a dedicated graphics card, remove the correct expansion slot covers from the back of the case. Insert the GPU into the top PCIe x16 slot on the motherboard until it clicks into place. Secure it to the case with screws, then connect the required PCIe power cables from the power supply.
Large graphics cards can be heavy, so make sure the card is fully seated and properly supported. Some cases or GPUs include support brackets to reduce sag.
For gaming PCs, the graphics card is often the star of the build. Installing it correctly is essential for display output and performance.
Step 13: Manage the Cables
Cable management is not just about appearance. Clean cable routing improves airflow, reduces clutter, and makes future maintenance easier. Route cables behind the motherboard tray when possible. Use zip ties or Velcro straps to bundle loose cables. Keep cables away from fans, sharp edges, and airflow paths. Make sure every connector is fully seated before closing the case. A clean first build does not need to look perfect. The goal is safe, organized, and functional.
Step 14: First Boot
Connect your monitor, keyboard, mouse, and power cable. Plug the monitor into the graphics card if you installed one, not the motherboard. Turn on the power supply switch, then press the case power button. The first boot may take longer than expected as the motherboard trains memory and checks hardware. If the system turns on and displays the BIOS screen, congratulations. Your PC is alive. If nothing happens, do not panic. Check the power switch, power cables, front-panel connectors, RAM seating, and monitor cable. Most first-boot problems are simple connection issues.
Step 15: Install the Operating System
To install an operating system, you will need a bootable USB drive. Insert it, enter the BIOS if necessary, and choose the USB drive as the boot device. Follow the installation prompts and select your SSD as the destination. After installation, update the operating system, install motherboard drivers, install graphics drivers, and check device manager or system settings to confirm hardware is recognized. This stage completes the transition from assembled hardware to usable computer.
Step 16: Test and Monitor Your New PC
Once the system is running, monitor temperatures, fan behavior, and performance. Make sure the CPU and GPU temperatures stay within safe ranges under load. Confirm that all memory is detected and that your storage drive shows the expected capacity. Install your favorite applications, games, creative software, or productivity tools. Test the computer with normal workloads before making advanced changes. Beginners should avoid aggressive overclocking until they understand temperatures, voltage, and system stability.
Common Beginner Mistakes to Avoid
Many first-time builders forget to plug the monitor into the graphics card. Others install RAM in the wrong slots, miss the CPU power cable, forget motherboard standoffs, or overlook the power supply switch. Another common mistake is rushing. Building a PC is not difficult, but it rewards patience. If a part does not fit, forcing it is almost never the answer. Stop, check the manual, and confirm orientation. Also avoid buying the cheapest power supply available. The PSU protects every part in your system, so quality matters.
Final Thoughts
Building a desktop PC is more than assembling components. It is a hands-on introduction to the technology that powers gaming, work, creativity, and everyday computing. The process teaches planning, precision, troubleshooting, and confidence.
Your first build may take time, and you may double-check every cable more than once. That is part of the experience. The moment your system powers on for the first time, the effort becomes worth it.
A custom desktop PC gives you performance you can understand, upgrade, and personalize. Whether you are building a budget-friendly home computer or a powerful gaming machine, the same steps apply. Start with compatible parts, work carefully, follow the manuals, and enjoy the satisfaction of creating a computer with your own hands.