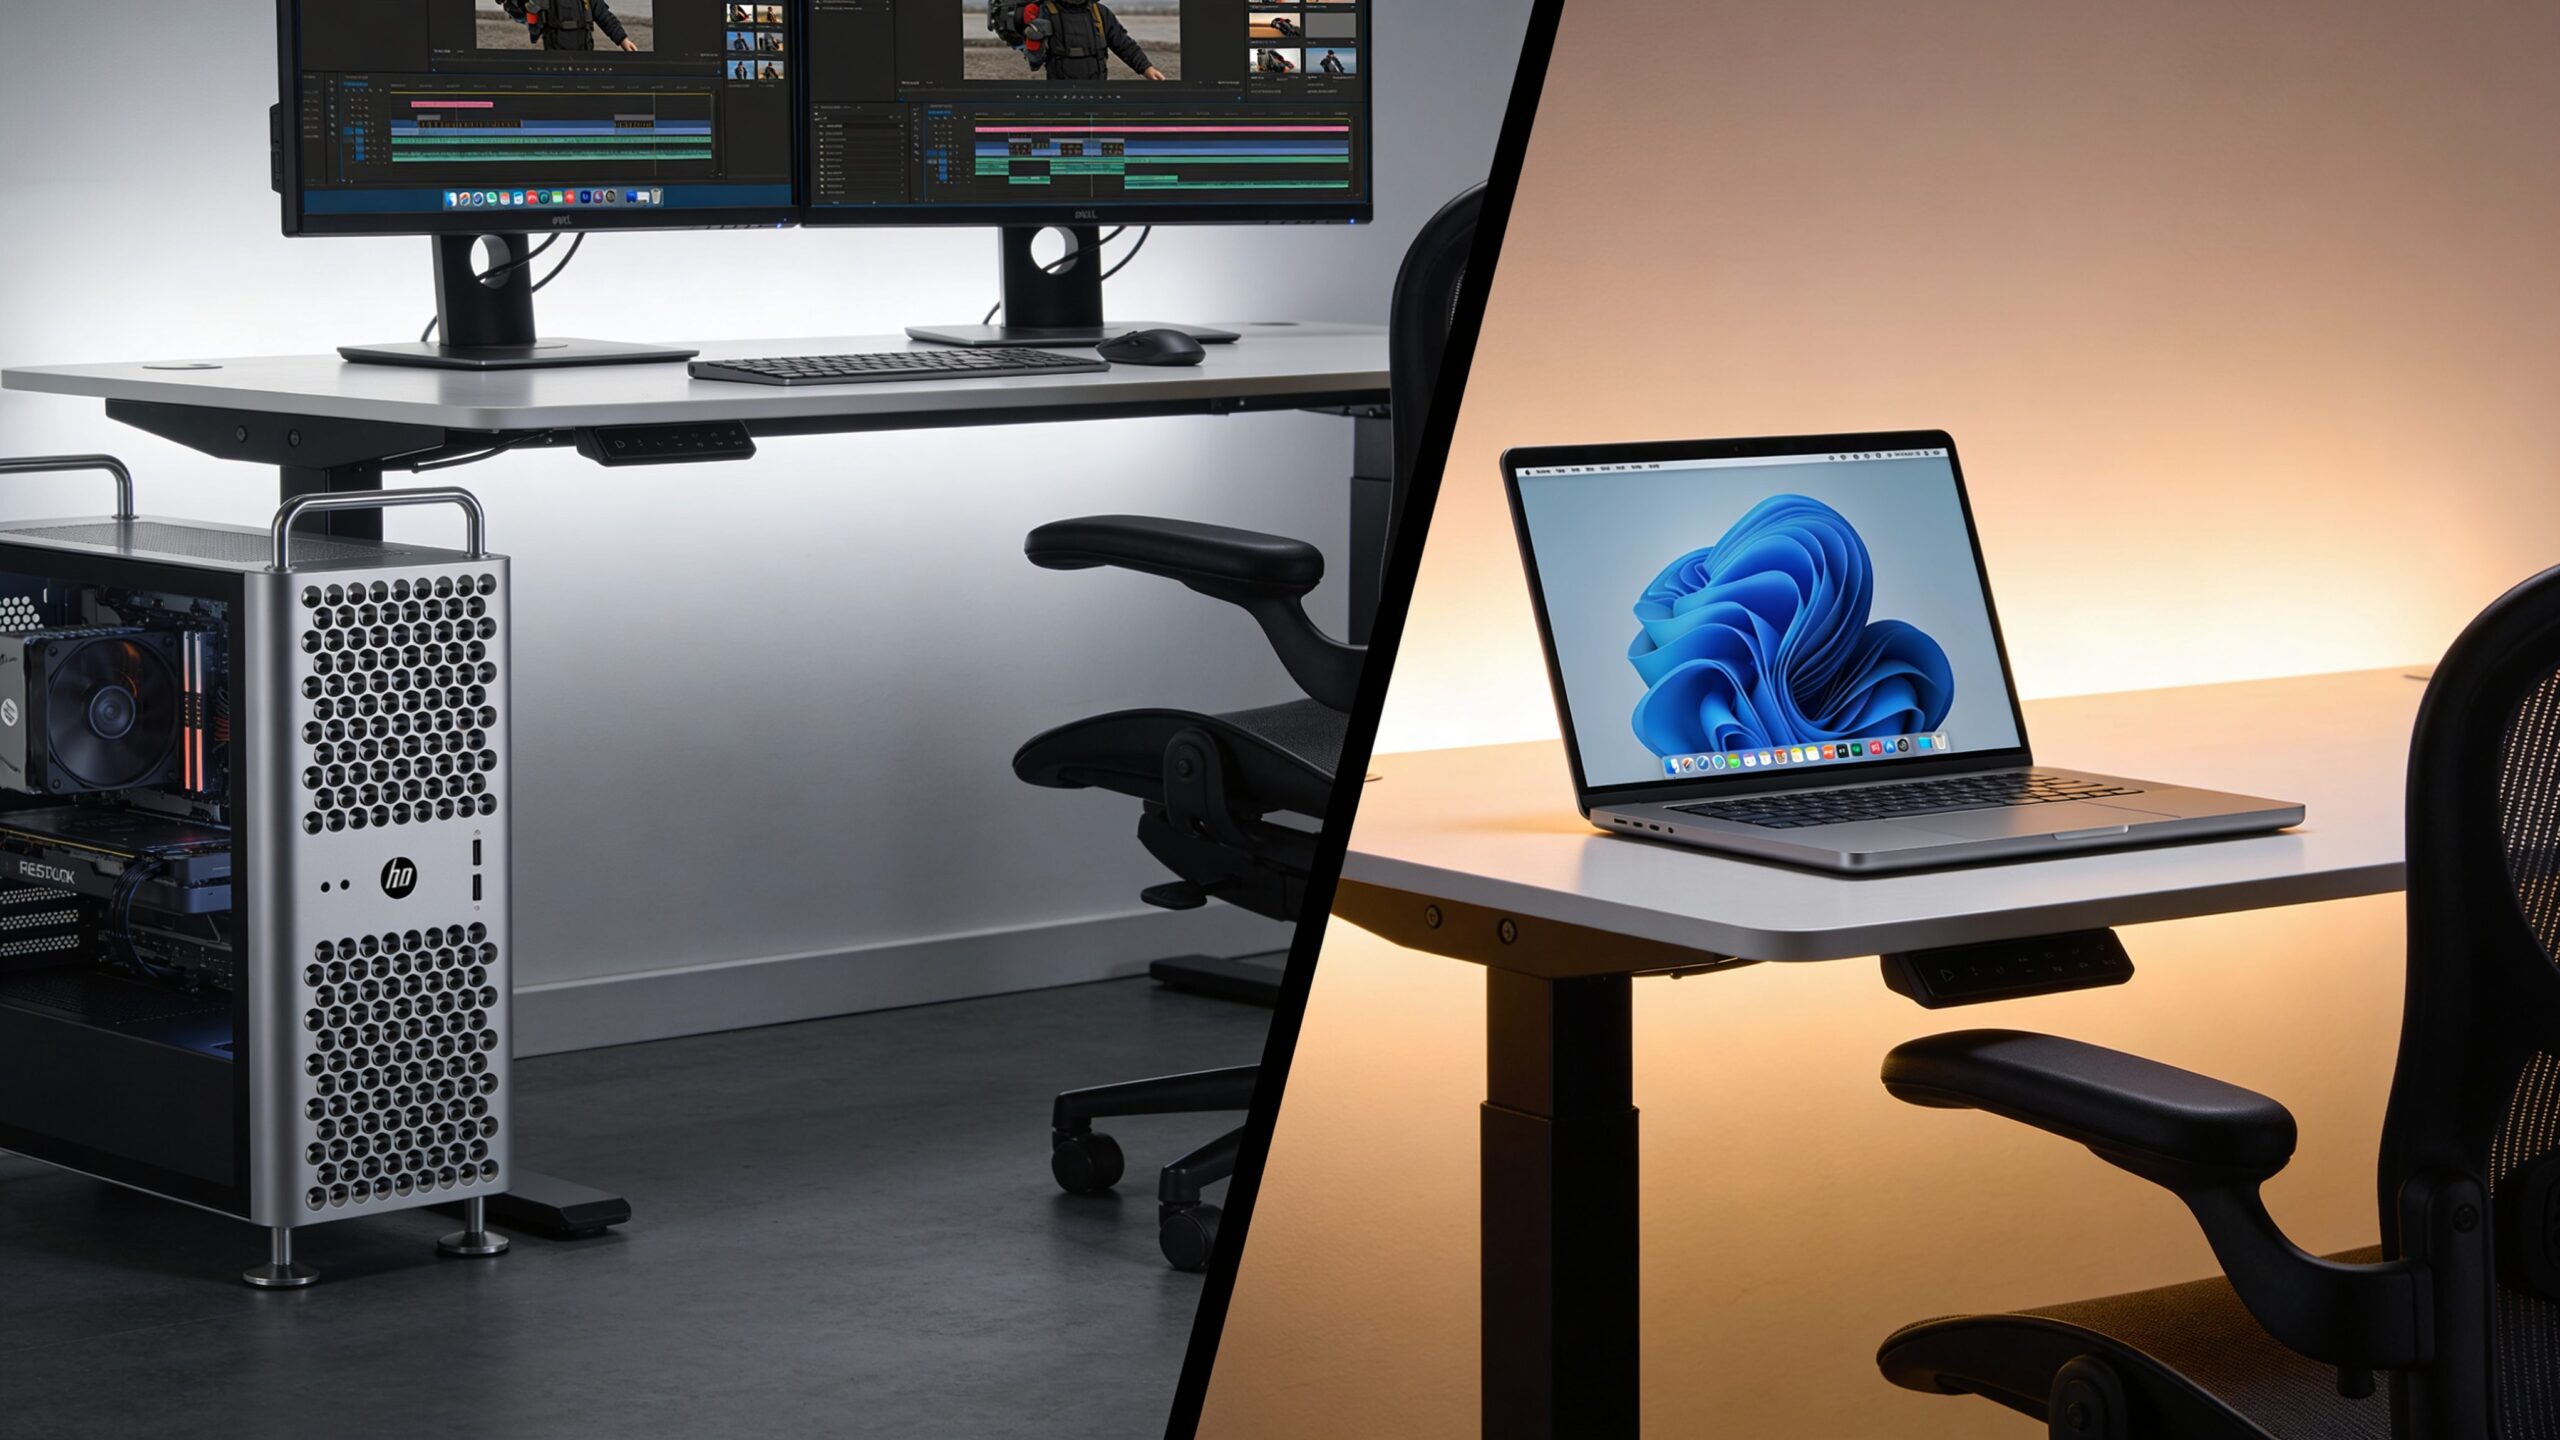
Desktop Computer Setup Guide: From Box to Power-On
Setting up a desktop computer is easier when the workspace is prepared before the power button is pressed. A desktop needs a stable surface, monitor, keyboard, mouse, power protection, network access, cable organization, and enough airflow. The setup process also includes operating system updates, account sign-in, security settings, drivers, backups, and basic performance checks.
A: Only if it solves a real problem or improves support, security, or performance enough to justify the cost.
A: Specs matter, but comfort, reliability, software, warranty, and compatibility often matter just as much.
A: Start with your workload, set a budget, check reviews, and include accessories or subscriptions.
A: It helps with syncing and backup, but important files should still have a recovery plan.
A: Use updates, strong passwords, multi-factor authentication, and regular backups.
A: No. The best value is the product that fits the task without unnecessary complexity.
A: It depends on the category, but update support and repairability are strong clues.
A: Avoid buying into a system before checking compatibility and long-term costs.
A: Reviewers test different workloads, priorities, prices, and expectations.
A: Whether the technology makes daily use easier, safer, clearer, or more reliable.
Prepare the Workspace First
Choose a desk or table with enough room for the tower, monitor, keyboard, mouse, speakers, and any accessories. Leave space for airflow around the case and avoid placing the computer directly on thick carpet where dust and heat can become problems.
Check the Box Before Assembly
Confirm that the desktop, power cable, monitor cable, keyboard, mouse, antennas, manuals, and any accessories are present. Inspect for shipping damage before connecting power. It is easier to document a problem before the setup is half finished.
Place the Tower Carefully
The tower should sit where it has ventilation, stable footing, and easy access to ports. Avoid sealed cabinets unless they are designed for airflow. Heat can shorten component life and increase fan noise.
Connect the Monitor Correctly
Use the best available connection for the display, such as DisplayPort or HDMI, depending on the computer and monitor. Make sure the cable is connected to the graphics card rather than the motherboard if the desktop uses a dedicated GPU.
Attach Keyboard, Mouse, and Audio
Connect basic peripherals before the first boot so setup screens are easy to navigate. Wireless devices may need batteries, dongles, pairing steps, or charging before they work reliably.
Use Safe Power Practices
A surge protector or UPS can protect a desktop from power spikes and sudden outages. High-performance desktops should not be overloaded on weak power strips with too many other devices.
Connect to the Network
Ethernet is often the most reliable option for desktops, especially for gaming, work calls, downloads, and large file transfers. If using Wi-Fi, attach antennas and place the tower where signal strength is reasonable.
Run Updates Before Heavy Use
Operating system updates, driver updates, security patches, and firmware tools may be needed after first boot. Updating early reduces bugs and improves hardware support before important files and software are added.
Install Essential Software Carefully
Start with browser, office tools, security software if needed, backup tools, creative apps, or work applications. Avoid installing bundles of unnecessary utilities that slow the system down from day one.
Create a Backup and Recovery Plan
Once the desktop is configured, set up backups for important files and create recovery options where appropriate. A good setup is not complete until the user knows how data will be protected if the drive fails or the system becomes corrupted.
What to Check Before You Commit
Before relying on a desktop computer setup goes smoothly when space, cables, monitor, peripherals, network, and updates are planned first, check the practical requirements: hardware, software, accounts, subscriptions, setup time, security settings, and the level of technical comfort required. A tool that looks simple in a demo can feel very different when it has to fit a real home, office, school, or small business.
The best decision comes from matching the technology to the user rather than forcing the user to adapt to the technology. Think about who will maintain it, who will troubleshoot it, and whether the benefit is still clear after the excitement fades.
Compatibility Can Decide the Experience
Technology rarely operates alone. Devices, apps, operating systems, browsers, accessories, accounts, file formats, and networks all have to work together. Compatibility problems are one of the fastest ways for a good idea to become frustrating. A careful buyer or user should check platform support, update policies, export options, and whether the tool works with what they already own. The smoother the fit, the more likely the technology becomes useful instead of becoming another isolated gadget or app.
Security Should Be Built In Early
Every connected technology brings some security responsibility. Strong passwords, multi-factor authentication, software updates, trusted downloads, careful permissions, and backup plans matter even for tools that seem ordinary. Security is easier when it is part of the setup from the beginning. Waiting until something goes wrong can make recovery harder, especially when accounts, personal files, financial information, or work data are involved.
Privacy Deserves a Plain-Language Review
Many modern tools collect data about behavior, location, usage, voice, images, files, or user choices. That data can improve features, but it can also create exposure if settings are unclear or policies change. A practical privacy review asks what is collected, where it is stored, who can access it, whether it can be deleted, and whether the tool still works if optional tracking is turned off. People should not have to trade unnecessary information for basic convenience.
Cost Is More Than the Purchase Price
The sticker price rarely tells the whole story. Subscriptions, accessories, cloud storage, replacement parts, electricity, repairs, warranties, training time, and switching costs can all change the real value. A smart technology decision includes the first year of ownership and the likely cost after that. If a product becomes expensive only after the user is locked in, the initial bargain may not be a bargain at all.
Maintenance Keeps Technology Useful
Good technology still needs care. Updates must be installed, files need organization, batteries wear down, settings drift, accounts change, and hardware eventually ages. Maintenance does not have to be complicated, but it should be expected. A simple routine of updates, backups, password review, cleaning, and occasional performance checks can extend the useful life of almost any technology.
Accessibility Makes Better Products
Accessible technology helps more people use the same tool comfortably. Good contrast, readable text, keyboard support, captions, voice control, adjustable notifications, and clear error messages are not niche features. They also improve the experience for everyone. A product that is easier to see, hear, understand, repair, and control is usually a better product, even for users who do not think of themselves as needing accessibility support.
When to Upgrade and When to Wait
New technology creates pressure to upgrade, but the best time to buy is not always the launch window. Early products can be expensive, buggy, limited, or dependent on standards that are still settling. Waiting can bring better prices, stronger reviews, software updates, and clearer compatibility. Upgrade when the new tool solves a real problem, not only because it feels newer than what already works.
The Human Factor Still Matters
The success of a desktop computer setup goes smoothly when space, cables, monitor, peripherals, network, and updates are planned first depends on people as much as specs. Training, habits, patience, trust, and clear expectations shape whether a tool becomes part of daily life. A technically powerful system can fail if users do not understand it or do not want it. A simpler system can succeed when it fits the way people already think, work, learn, and communicate.
A Practical Way to Judge the Technology
The easiest way to judge a desktop computer setup goes smoothly when space, cables, monitor, peripherals, network, and updates are planned first is to ask what changes after adoption. Does it save time, reduce risk, improve quality, make information clearer, or open a capability that was not realistic before? If the answer is vague, wait. Strong technology does not need inflated promises. It earns trust by working consistently, explaining its limits, and making life or work measurably easier.
Setup Quality Shapes Long-Term Results
Many technology problems begin during setup. Rushed configuration can lead to weak passwords, messy accounts, confusing names, missing backups, disabled updates, or devices placed where they perform poorly. A careful setup does not need to be slow, but it should be deliberate. Label devices clearly, write down recovery methods, check update settings, and confirm that the most important features work before depending on the system.
Troubleshooting Should Be Part of the Plan
Every technology eventually needs troubleshooting. Apps freeze, networks drop, devices stop syncing, storage fills up, and settings change after updates. The best tools make recovery understandable. Clear error messages, searchable support pages, export options, reset steps, and human support channels can matter as much as headline features when something breaks.
Performance Claims Need Context
Speed, battery life, storage, response time, and reliability often depend on real conditions. A product may perform well in ideal tests but slow down with older hardware, weak networks, large files, or heavy multitasking. When comparing options, look for reviews and examples that resemble your actual use. The right question is not only how fast the tool can be, but how consistently it performs under ordinary pressure.
Ownership and Exit Options Matter
Modern technology often depends on accounts, cloud services, app stores, and subscriptions. That can be convenient, but it can also make users dependent on a provider’s prices, policies, and long-term support. A healthy setup includes exit options. Users should know whether they can export files, move data, switch platforms, keep local copies, or continue using the product if a service changes.
A Good Upgrade Should Reduce Friction
The simplest test is whether the technology removes more friction than it creates. A new system should make a task clearer, faster, safer, more reliable, or more accessible. If it adds more alerts, accounts, cables, chargers, settings, or confusion than the old method, it may not be an upgrade yet. Mature technology earns its place by becoming easier to live with over time.
Documentation Saves Future Time
A few notes can prevent future headaches. Record important account names, warranty details, device models, setup choices, backup locations, and any settings that were changed from the default. Documentation is especially useful when technology is shared by a household or team. If only one person understands the setup, every small problem becomes dependent on that person being available.
The Best Version Feels Useful After the Novelty Fades
New technology often feels exciting during the first week. The better test comes later, when the product is no longer new and the user simply expects it to work. If a desktop computer setup goes smoothly when space, cables, monitor, peripherals, network, and updates are planned first still saves time, reduces stress, improves quality, or makes a task easier after the novelty fades, it is probably serving a real purpose rather than just adding another layer of complexity.
Bottom Line on Desktop Setup
A desktop setup is more than plugging in a tower. It is workspace planning, safe power, clean cabling, updates, security, and backup preparation. A careful first setup makes the computer easier to use, easier to maintain, and easier to troubleshoot later.
Final Buying Perspective
The safest technology choice is the one that still makes sense after the comparison chart is closed. A product should fit the space, the budget, the user, the maintenance plan, and the software or service ecosystem around it. That practical view keeps the decision grounded. Strong technology does not have to be perfect, but it should make the next few years easier instead of adding avoidable complexity.
What Makes the Choice Hold Up
The best technology choice is the one that continues to feel useful after setup, updates, accessories, and daily habits are included. A strong option should reduce friction, protect important data, and remain understandable when something needs to be changed later. That long-term view matters because technology is not only purchased once. It is used repeatedly, maintained over time, and judged by whether it keeps helping after the first impression fades.
Practical Adoption Check
Before committing to this technology choice, compare the promised benefit with the real adoption work. Setup, training, maintenance, security, support, and user habits all shape whether the idea succeeds after launch. A strong decision should still look sensible after those everyday details are included. That is the difference between technology that sounds impressive and technology that actually improves the way people work or live.